


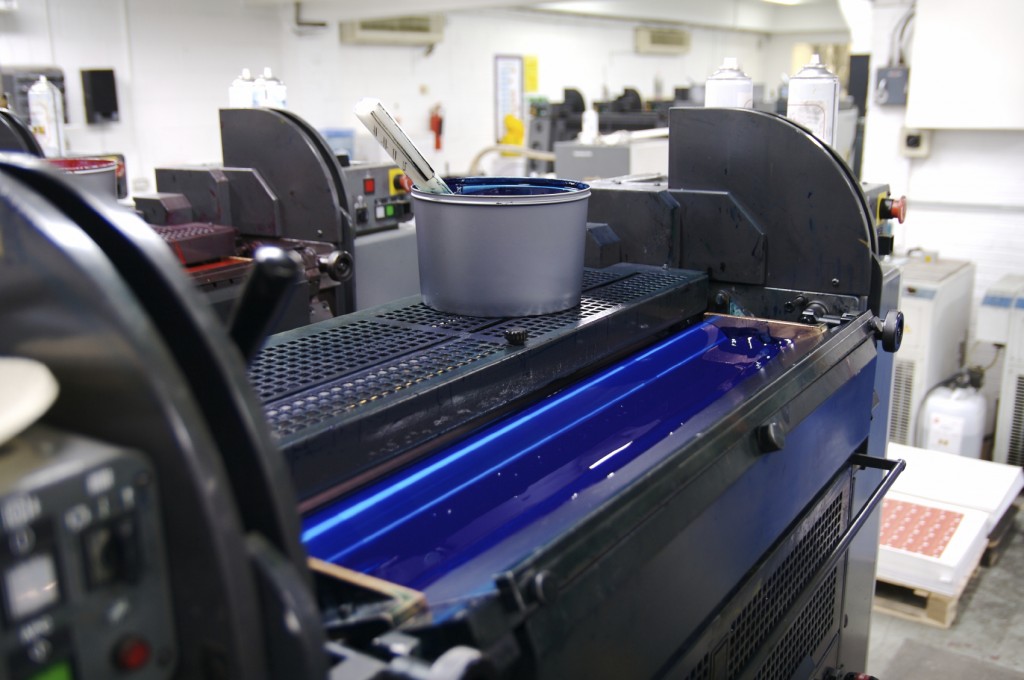
Newcomers to the printing industry might not have heard the term “full-bleed” before.
Newcomers to the printing industry might not have heard the term “full-bleed” before. In this context, “bleeding” means to set up distinct zones of color that extend past the trim area. That way, you won’t risk leaving behind noticeable and ugly lines at the borders of the page. Oversized sheets serve as the media that feature the image or background. Then it’s cut down to its proper size, where the “bleeding” effect literally comes into the picture.
The Trim Line
The trim line is pretty easy to understand. Essentially, this is how the page or document looks once the final cut has been made. After that, the next few steps take over and move the product closer to completion.
“Safe” Zones
There are, of course, some safe zones that you want to designate. The safe areas are also known as inner margins. These margins define the edges of the page. That way, no logos or page numbers will be snipped off by accident. Once the trim line is in place, measure at least ⅛” within the trim line itself.
How Borders Are Drawn
If you want to have a framed border around your document, you’ve got to be more mindful. That’s because the trim lines and bleed lines determine where the borders should go. Plus, framed borders must be placed extremely carefully so that at least a quarter-inch extends from the trim line and ⅜” extends from the bleed line.
Helpful Software Programs
Although it’s best to consult professional printers whenever you need full-bleed printing, some programs facilitate the process. InDesign is the most suitable choice for print. If you were in journalism class in high school (which meant that you could join the newspaper staff), you’ve probably already had some experience with it. You can adjust your bleeds and margins by using the “Document Setup” box.
Illustrator is another piece of software that expedites the process of full-bleed printing. However, you can only use it to set up bleeds. If this is your goal, you’ll be fine. Just make sure the measurements line up as 0.125 for the top, bottom, inside, and outside. Unfortunately, you won’t be able to align margins as needed.
PhotoShop is another amazing tool for getting the perfect full-bleed-based print. However, working with it is a bit more complicated. You’ll need to add an extra quarter-inch to the final document size. That way, the program knows to factor in bleed requirements so it won’t cut anything off.
Let Time Printers Assist You with Your Printing Needs for the Rest of 2021!
Whether you already know how your latest print products should look or you want further advice, Time Printers is here to help! We service all of Baltimore, Hunt Valley, and Towson. Our team of professionals can answer all of your burning questions. Give us a call at 410-566-3005, and be sure to follow us on Facebook, Twitter, Pinterest, and LinkedIn for tips and see what we have been working on and what we can do for you. We hope to hear from you soon!
Tags: full bleed, printing, printing services, vocab